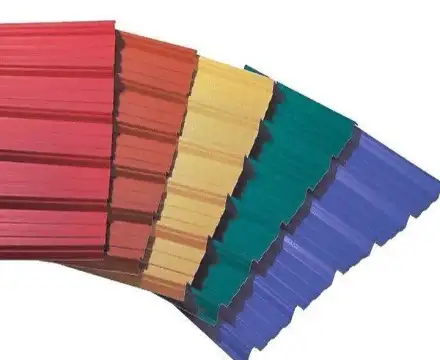
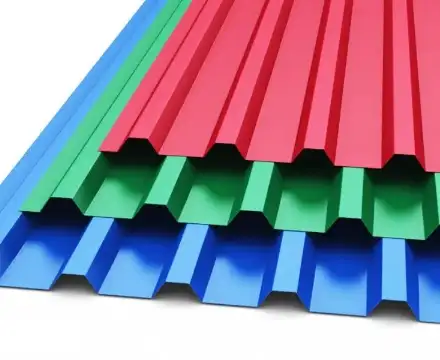
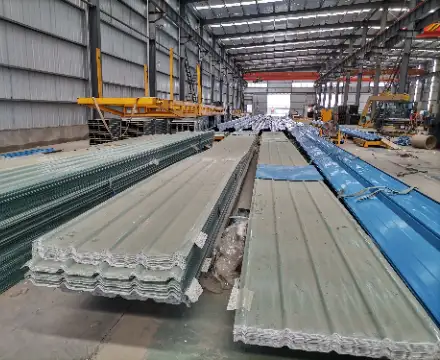
The metal roof panel is connected between the panels by mechanical occlusion, and the panel and the structural layer are supported by an aluminum alloy fixing seat (T-code), and the T-code is hidden in the plate rib. Consists of several veneers resting on the purlins of the roof. In order to solve the problems of sound insulation, cold protection and heat preservation of the roof, insulating glass fibers are placed on the inclined roof. Purlins and steel grids are used as skeletons, and special insulating T-shaped brackets are set on the purlins (to prevent “thermal bridges”). The top of the bracket protrudes into the cavity where the side ribs of the two plates are engaged with each other, and the roof of the standing seam system is installed after the insulation cotton is laid.

Pre-installation testing and adjustment
- Whether the elevation of the aluminum support is consistent with the designed elevation. Since the roof panel is fixed on the high-strength aluminum support, whether the elevation of the aluminum support is consistent with the designed elevation directly affects the shape of the entire roof and the overall wind resistance and waterproof performance.
- Due to the full consideration of the wind resistance of the entire roof in the future in the detailed design of the roof. The number of aluminum supports is the key to ensuring the wind resistance of the entire roof. Therefore, it is necessary to check the installed aluminum support before the roof panel is installed, and it must not be installed or omitted.
Roof panel installation process
The process of metal roof panel installation is: layout – in place – undercut – trimming the edge of the board.
- Pay-off: After the “T” code is installed, it is only necessary to set the board end positioning line. Generally, the distance from the edge of the board to the drainage ditch is the control line. Easy to trim.
- Positioning: The construction personnel lift the board to the installation position, align the control line at the end of the board first, then press the lap edge into the lap edge of the previous board, and then check whether the lap edge is tightly connected.
- Undercut: After the position of the roof panel is adjusted, use a special electric undercut machine to undercut. During the crawling process of the undercut machine, it must be firmly clamped within 1mm in front of the undercut machine to make the lap joint tightly joined, which is also the key to the quality of the mechanical undercut. Roof panels that are in place that day must be undercut to prevent the panels from being damaged or blown away when the wind blows.
- Trimming the edge of the board: After the roof panel is installed, the edge of the panel needs to be trimmed to ensure that the edge of the roof panel is neat and beautiful. The length of the roof slab extending into the gutter should be no less than 80mm and no more than 150mm.
Installation points of roof panels
The installation of the roof panel begins after the pre-installation test of the metal roof panel is completed. Roof panel installation adopts mechanical snap-lock. After the roof panel is laid, it should be engaged with an undercut machine as soon as possible to improve the integrity and bearing capacity of the panel.
When the roof panel is laid and the axis is aligned, first manually align the panel with the support, and then place the bite machine on the rib seam of the two roof panels. The feet are supported to prevent overturning.
When the roof panel is installed, two workers walk along the panel rib at the junction of the panel and the panel. As you walk, firmly secure the lock seam of the board and the support under the board. The latter person pulls the rope of the bite machine so that it follows closely behind the person and bites the roof panel tightly.

Control of key nodes in roof panel installation
sun angle, roof ridge
The treatment of the roof angle is an important part of the roof waterproofing project, and it is also the guarantee of the construction quality of the roofing project. Multiple waterproofing methods are required to deal with the nodes. After years of construction, it has been proved that the node processing is also scientific and effective.
- The port plate on the roof panel and the aluminum alloy support of the roof panel are fixed with rivets. In order to prevent the roof panel from sliding due to temperature changes; or the roof panel slides due to the external force and the undercut of the roof panel is not tight.
- First, crimp the installed roof panel port, and the crimp height is about 50mm. In order to prevent the roof with a small slope, the rainwater will flow back into the roof and cause water leakage. Even the roof with a large slope to the project is necessary to prevent the wind and rain from pouring into the underside of the roof panel.
- Using the method of combining aluminum alloy seals and foam sealing strips, first use the aluminum alloy seals that match the plate shape to connect and fix the roof panel ribs with waterproof rivets, and then insert the roof ridge foam consistent with the plate shape after the seals. Then, fix the roof ridge cover plate and seal with rivets in the middle, so that even if the exposed rivets leak, the rainwater will drip on the roof panel instead of indoors, and the seals and seals are all prefabricated products in the factory.
Inside corners, roof panels and gutter trim
The quality of the treatment of the inner corner of the roof will directly affect the roof waterproofing and roof safety, otherwise there will be the possibility that the roof panel will be lifted by the strong wind. In this project, SAFS steel structure space frame adopts a safe, reliable and new node processing method.
- The distance between the roof purlins at the edge of the gutter and the gutter is preferably 100mm, and not more than 150mm, and the length of the roof slab extending into the gutter is about 80mm~150mm. This is to ensure that the length of the port under the roof panel from the fixed seat is controlled within 250mm, preferably 150mm.
- The port under the roof panel is folded to form a water drop opening.
- A flashing plate is set under the roof panel, and a 1.5mm galvanized steel plate attachment is built in to play a processing role. Flashing panels can be used to waterproof and fold various materials inside the roofing system to prevent exposure.
- A water retaining plate is arranged on the roof panel rib. Generally, the slope of the metal roof is relatively large, and the speed of rainwater diving is very large. In order to prevent the rainwater from rushing down into the opposite roof panel, the setting of the water retaining plate can play the role of slowing down the rainwater.

Strengthening of weak links
For weak links such as the side of the penetrating object and the gable wall, the general practice is to simply connect the gable cover flashing and the roof panel edge rib with self-tapping screws, and the nail holes must penetrate the inside and outside of the roof. Water leakage will occur. The approach to the weak points must be meticulous, and a scientific, reasonable and reliable solution must be developed. First, fix the prefabricated aluminum alloy gable groove to the roof panel rib with rivets, and then use the gable fastener to fasten the groove and fix it with the fixed seat. In this way, the buckle groove is firmly fixed, and then the prefabricated T-shaped adjustable buckle groove is clamped on the buckle groove, and then the gable flashing is fixed on the T-shaped adjustable buckle groove with rivets. Since the exposed rivet holes do not pass through Roof panels, so there won’t be any holes.


